A little magic, made for everyone. Always free.
← All drawingsA LITTLE PAPER. A LOT OF HEART.6 easy Christmas
card drawing ideas.
Turn a simple drawing into a card someone will want to keep. Pick a layout below, follow its drawing lesson, then add a message in your own handwriting.
You need: paper or card, a pencil and an eraser. Coloured pencils and a ruler are optional. No printer, glue or scissors required.
Start with the fold ↓
BEFORE YOU DRAWMake the card first.
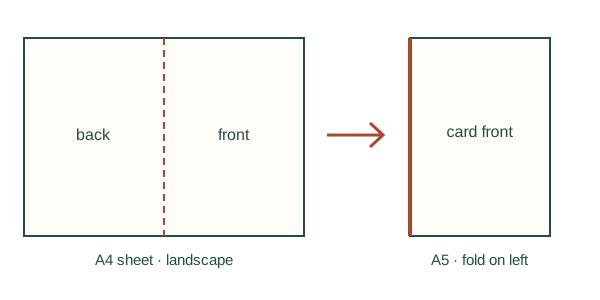
Put an A4 sheet in landscape and bring the left edge over to meet the right. Crease the middle, then turn the closed card so the fold is on the left. You now have an upright A5 card front: about 148 × 210 mm.
Draw on the front, with the opening on the right. Leave a finger-width border and plan a space for the greeting before drawing. Try the first few lines lightly on scrap paper if you want a practice run.
Plain paper is fine for a first card. Foldable card gives a firmer result. Test felt tips on a spare piece first; a scrap sheet inside the folded card can protect the message area.
 Layout idea · draw it your way
CARD IDEA 01One little Christmas tree
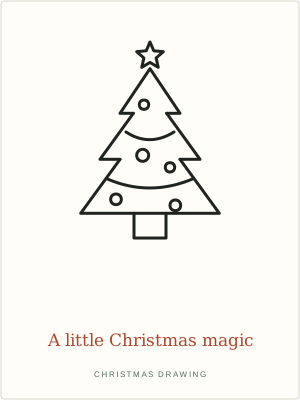
A tall tree makes a clear centrepiece. Leave a generous border so the branches have room to spread.
- Lightly mark the centre of the card front. Leave a strip at the bottom for your greeting.
- Follow the six-step tree drawing, keeping the widest branches inside your border.
- Choose two colours for the baubles and repeat them around the tree.
- Write a short greeting below the trunk. Add a few snow dots in the empty space.
Make it yours: For a smaller card, keep just three baubles and one curved garland. You can leave out the extra details.
 Layout idea · draw it your way
CARD IDEA 02Three hanging baubles
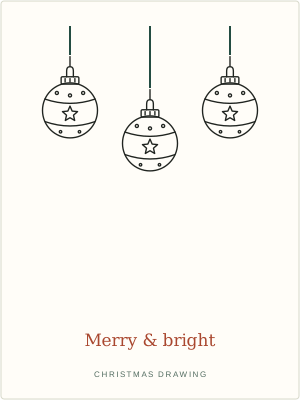
Repeating one small shape makes a whole design. The baubles can be different sizes and hang at different heights.
- Mark three hanging points across the top of your card, with space between them.
- Draw a fine line down from each point. Make the middle line a little longer.
- Use the bauble lesson to add a rounded ornament under each line. Start small so they do not overlap.
- Give each bauble a different pattern, then write your greeting in the clear space below.
Make it yours: Try spots, stripes and zigzags. One coloured pencil is enough: vary the patterns instead of the colours.
 Layout idea · draw it your way
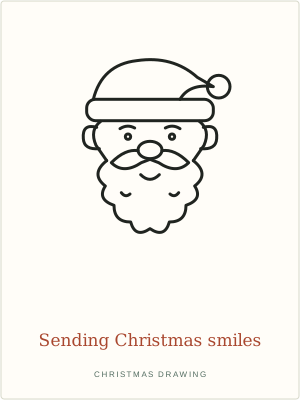
CARD IDEA 03A smiling Santa portrait
A large face is a friendly starting point. Keep the background simple and let the hat and beard fill the front.
- Leave a blank band along the bottom for a greeting before you start the face.
- Draw Santa using the face lesson. Keep the hat below the top edge of the card.
- Colour the hat and nose, leaving the beard white. Add your own cheerful expression.
- Write a short message under the beard, then add two little stars beside the hat.
Make it yours: Turn the hat into a striped winter hat or add tiny round glasses. Your Santa can look different from ours.
 Layout idea · draw it your way
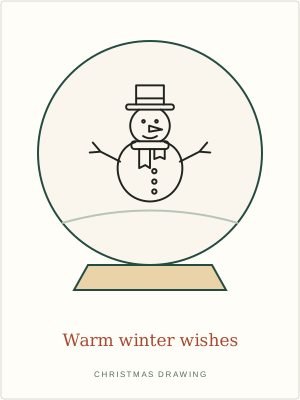
CARD IDEA 04A snowman in a snow globe
A big circle gives your snowman a ready-made frame. A narrow base underneath turns the scene into a snow globe.
- Draw a large circle in the upper part of the card. Lightly sketch a low mound inside it.
- Follow the snowman lesson inside the circle, making the body small enough to leave room for the hat.
- Add snow dots around the snowman, then draw a simple flat base underneath the circle.
- Colour the scarf and base. Put your greeting below the globe.
Make it yours: Skip the circle and draw the snowman on a snowy hill instead if you would like a simpler scene.
 Layout idea · draw it your way
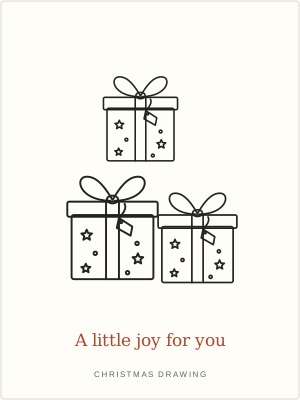
CARD IDEA 05A trio of presents
Three small presents make a cheerful pattern. Put two near the bottom and one above, leaving space around each bow.
- Sketch a wide present near the lower half of the card, following the wrapped-gift lesson.
- Add a smaller present above it and a small one beside it. Leave clear gaps between the boxes and their bows.
- Give each box its own wrapping pattern. Keep the ribbons clear so the shapes are easy to see.
- Add your greeting below the presents and a few small dots around the boxes.
Make it yours: Draw just one big gift with an oversized bow when you want fewer lines. Try the recipient’s favourite colours.
 Layout idea · draw it your way
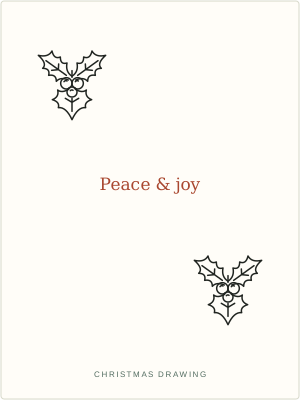
CARD IDEA 06A message framed with holly
This layout puts your words first. Small holly sprigs decorate opposite corners without crowding the message.
- Lightly pencil your greeting in the middle of the card. Keep it short enough to leave a border.
- Follow the holly lesson in the top-left corner, using a small cluster of leaves and berries.
- Repeat the sprig in the bottom-right corner. Turn the leaves towards the middle.
- Finish the lettering and colour the leaves and berries. Rub out the light planning lines.
Make it yours: Use just one sprig below the greeting if the lettering needs more room. A simple border is optional.
THE PART THAT MAKES IT PERSONALFinish with a few words of your own.
Leave the ink to dry, then open the card and write inside. “Thank you for making me smile this year”, “A little Christmas cheer for you” or “Wishing you a cosy Christmas” are simple starting points. Add a small drawing beside the message if you like.
Making cards together?
Let everyone choose a different layout, or use the same tree with different colours. One person can draw the main shape and another can add the pattern or greeting. Keep names and messages on the paper; there is nothing to upload here.
Want to practise on paper?
Each free pack above contains an A4 six-step lesson and a large colouring page. They are practice sheets, not pre-sized card fronts. Choose “fit to page” when printing, then copy the drawing onto your folded card. You can also download all 12 drawing activities in the existing 24-page book.
Need a landscape card?
Turn your folded card so the fold runs along the top. The hanging baubles and holly layouts work well across a wider front; leave room above or below the picture for your greeting.
Original card layouts and drawing lessons by West Lancashire Creations. Free for home, classroom and community activities.
FOR THE GROWN-UPS · OPTIONAL KEEPSAKESA little of the magic,
made to keep.
We’re West Lancashire Creations, makers of handmade Christmas decorations. These drawing activities are our little gift to you.
Explore the handmade collection ↗Paid products, completely optional. Current prices and delivery details are in our shop.